Learning how to take a screenshot on Windows is one of the simplest yet most essential skills for any computer user. Whether you’re showing a tutorial, saving proof of payment, or sharing a funny meme, knowing the right shortcuts saves time and effort. Windows makes it easy to capture your screen in several ways, from keyboard shortcuts to built-in tools.
How to Take a Screenshot on Windows 11
If you’re using the latest Microsoft system, learning how to take a screenshot on Windows 11 is quick. Press Windows + PrtScn to capture the entire screen instantly. Your screenshot will be saved automatically in the “Pictures → Screenshots” folder.
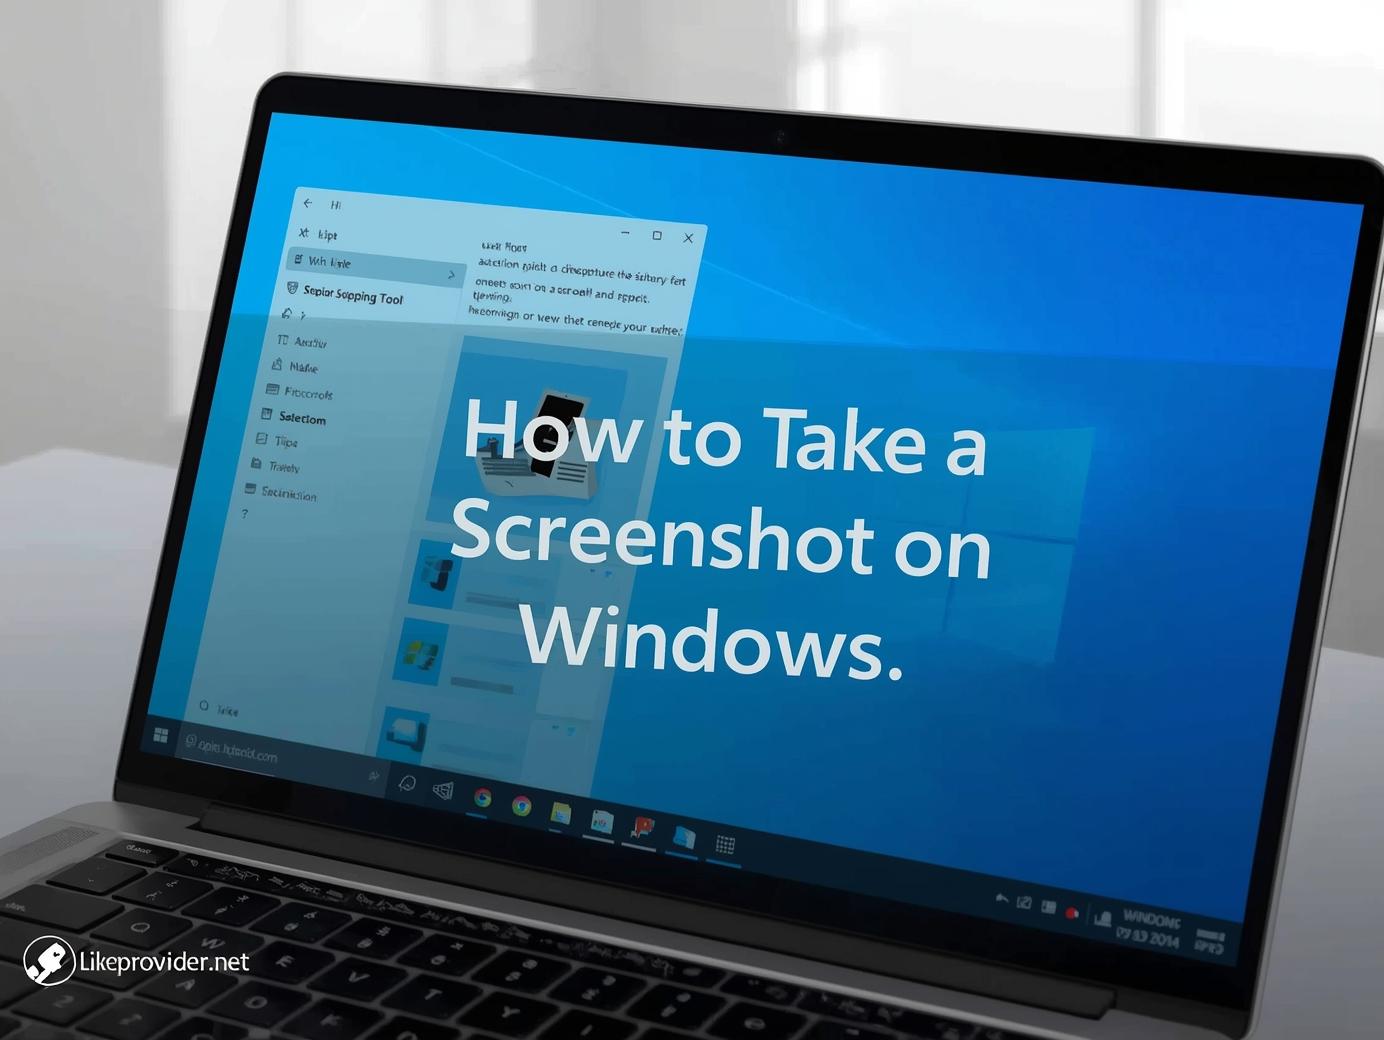
For more control, try Windows + Shift + S. This opens Snipping Tool (formerly Snip & Sketch). Your screen dims, and you can drag to select the exact area you want. Once captured, a small preview appears in the corner; click it to annotate or save.
You can also press Alt + PrtScn to capture only the active window. It’s a simple shortcut that prevents unnecessary cropping later.
How to Take a Screenshot on Windows 10
Many users still prefer Windows 10, and the process of taking a screenshot on Windows 10 is nearly identical. The PrtScn key remains your best friend. Press it once to copy the whole screen to your clipboard, then paste it into Paint, Word, or any image editor with Ctrl + V.
Another method is Windows + PrtScn, which automatically saves the image. Or, if you only need a small part of the screen, open the Snipping Tool via the Start menu. Click “New,” select the area you want, and save or edit your shot directly.
Using Snipping Tool and Snip & Sketch on Windows
The Snipping Tool has been part of Windows for years, and it remains one of the most flexible ways to take a screenshot on Windows. You can choose between rectangular, freeform, window, or full-screen modes. This is ideal for detailed work—like highlighting part of a document or creating tutorials.
The newer Snip & Sketch app is even more streamlined. Shortcut Windows + Shift + S lets you snip instantly without opening a separate app first. After capturing, you can crop, draw, or share your image within seconds.
How to Take a Screenshot on Windows Acer Laptops
If you own an Acer device, don’t worry—the steps are the same. Acer keyboards often label the key as PrtSc or Prt Scn. To take a screenshot on Windows Acer, simply press Fn + PrtScn if the key is shared with another function, or use Windows + PrtScn for an automatic save.
On some models, you may need to press Fn + Alt + PrtScn to capture the active window. Check your keyboard layout to be sure which combination applies.
How to Take a Screenshot on Chromebook Without Windows Key
If you’re using a Chromebook that lacks a Windows key, there’s still a quick fix. To take a screenshot on Chromebook without Windows key, press Ctrl + Show Windows ( F5 ) for a full-screen capture. For a partial screenshot, press Ctrl + Shift + Show Windows ( F5 ) and drag over the section you want.
Although it’s not technically Windows, many users search this because they move between systems. The logic is the same: one shortcut for full screen, another for area selection.
How to Take a Screenshot on Windows Using Keyboard Shortcuts
Keyboard shortcuts are the fastest way to take a screenshot on Windows. Here are the most common ones you should memorize:
- PrtScn: Copies the entire screen. Paste into Paint or Word.
- Windows + PrtScn: Saves the entire screen automatically.
- Alt + PrtScn: Captures only the active window.
- Windows + Shift + S: Opens Snip & Sketch for precise captures.
- Windows + G: Opens Xbox Game Bar for screenshots in games.
All of these shortcuts work across most laptops and PCs, including HP, Dell, and Acer models.
How to Take a Screenshot on Windows While Gaming
If you’re playing a game or watching a full-screen video, you can still capture the moment. Press Windows + G to open the Xbox Game Bar, then click the camera icon or use Windows + Alt + PrtScn. Screenshots are saved in “Videos → Captures.” This method is perfect for recording gaming achievements or high-quality visuals.

Other Ways to Take a Screenshot on Windows
Sometimes the built-in options aren’t enough. That’s where third-party tools come in handy.
- Lightshot offers fast editing and direct sharing links.
- ShareX is a professional-grade open-source program with automation and scrolling capture.
- Greenshot is lightweight and integrates smoothly with cloud services.
These tools help if you frequently capture and edit images for blogs, guides, or professional work.
How to Take a Screenshot on Windows and Edit It
After taking your screenshot, open Paint or any editing software to make improvements. Use the crop tool to focus on the important part, highlight details with arrows, or blur sensitive information.
For quick edits, Snip & Sketch already includes basic tools like pen, highlighter, and ruler. You can also use Ctrl + S to save the file immediately after annotating.
Why Learning How to Take a Screenshot on Windows Matters
Screenshots are crucial for communication. They save time when you need to explain a technical issue, demonstrate a process, or document an event. Knowing how to take a screenshot on Windows 11 or older versions ensures you can share visuals efficiently across platforms.
If you switch between devices, learning how to take a screenshot on Chromebook without Windows key is equally valuable. The concept remains the same—capture, save, and share instantly.
For more helpful tools and tutorials, explore our detailed guide to Free YouTube Video Download.

Final Thoughts
Mastering how to take a screenshot on Windows gives you freedom to capture anything on your screen effortlessly. From full-screen grabs to quick snippets, Windows offers multiple built-in methods that fit every user’s needs. Once you know your favorite shortcut, taking screenshots becomes second nature.
For official shortcut details and troubleshooting tips, visit the Microsoft Support Center.


