Taking screenshots on a Mac is one of those things every user should master. Whether you’re creating tutorials, saving images, or sharing a portion of your screen, knowing how to take a screenshot on Mac efficiently makes your workflow smoother. This 2025 guide covers every method — from keyboard shortcuts to advanced tools — so you can capture your screen like a pro.
How to Take a Screenshot on Mac Using Keyboard Shortcuts
When it comes to speed, nothing beats keyboard shortcuts. Apple has built in several easy options for taking screenshots instantly.
- Command (⌘) + Shift + 3 – captures the entire screen.
- Command (⌘) + Shift + 4 – lets you select a specific part of the screen.
- Command (⌘) + Shift + 4 + Spacebar – captures a particular window.
- Command (⌘) + Shift + 5 – opens the screenshot toolbar, giving you more options like screen recording and saving preferences.
These shortcuts work on every Mac model — MacBook Air, MacBook Pro, and iMac.
How to Take a Screenshot on a Mac Computer (Using Screenshot Toolbar)
Another simple way to capture your screen is by using the built-in Screenshot Toolbar. If you’re wondering how to take a screenshot on a mac computer for tutorials or documentation, this is your best method.
- Press Command (⌘) + Shift + 5.
- The toolbar will appear at the bottom of your screen.
- Choose whether you want to capture the entire screen, a window, or a selected area.
- Click “Options” to set a timer or select the save location.
- Press “Capture” to finish.
The Screenshot Toolbar also allows you to record videos, making it perfect for creating guides or software demos.
For more social media growth tips, explore our offer to get free Instagram followers.
How to Take a Screenshot on Mac Air
If you’re using a MacBook Air, the process remains the same. However, due to its smaller display, you may prefer using selection shortcuts for precision.
- Use Command (⌘) + Shift + 4 for selected regions.
- Use Command (⌘) + Shift + 3 for the full screen.
- After capturing, a small thumbnail appears in the corner — click it to edit, crop, or annotate your image before saving.
This quick-edit feature makes how to take a screenshot on mac air incredibly convenient for students, designers, and professionals alike.
How to Take a Screenshot on Computer Mac Using Preview
The Preview app is another powerful way to capture screenshots, especially if you prefer using a visual interface instead of shortcuts.
- Open the Preview app.
- Go to File → Take Screenshot.
- Choose From Entire Screen, From Window, or From Selection.
- Edit or export your image directly in Preview.
This method is great for people who need editing options right after the capture.

How to Customize Screenshot Settings
macOS gives users full control over how screenshots are taken and saved. Open the Screenshot Toolbar (Command + Shift + 5) and explore:
- Save Location – choose Desktop, Documents, or Clipboard.
- Timer – set a 5 or 10-second delay.
- Show Mouse Pointer – display or hide the cursor.
- Screen Recording – record your entire screen or specific area.
These options make how to take a screenshot on mac more flexible than on Windows or ChromeOS.
How to Organize Your Screenshots
If you take many screenshots daily, keeping them organized is essential.
- Create a “Screenshots” folder in Documents.
- Rename each file descriptively (for example, “Project-Dashboard-Jan2025.png”).
- Use Command (⌘) + Control + Shift + 4 to copy the screenshot directly to the clipboard instead of saving it.
How to Edit Screenshots Quickly
After capturing, you’ll see a small preview thumbnail in the bottom-right corner. Click it to instantly open editing options:
- Crop or resize the image.
- Add arrows, highlights, or text.
- Blur sensitive areas.
- Share directly via AirDrop, Mail, or Messages.
This built-in editing tool saves time and helps polish your screenshots before sharing them online.
Troubleshooting Screenshot Problems
If none of the shortcuts work, check these steps:
- Go to System Settings → Keyboard → Shortcuts → Screenshots and ensure they’re enabled.
- Check your save location (Desktop or Documents).
- Restart your Mac to reset temporary issues.
If you still face problems, updating macOS usually solves compatibility glitches with screenshots or keyboard shortcuts.
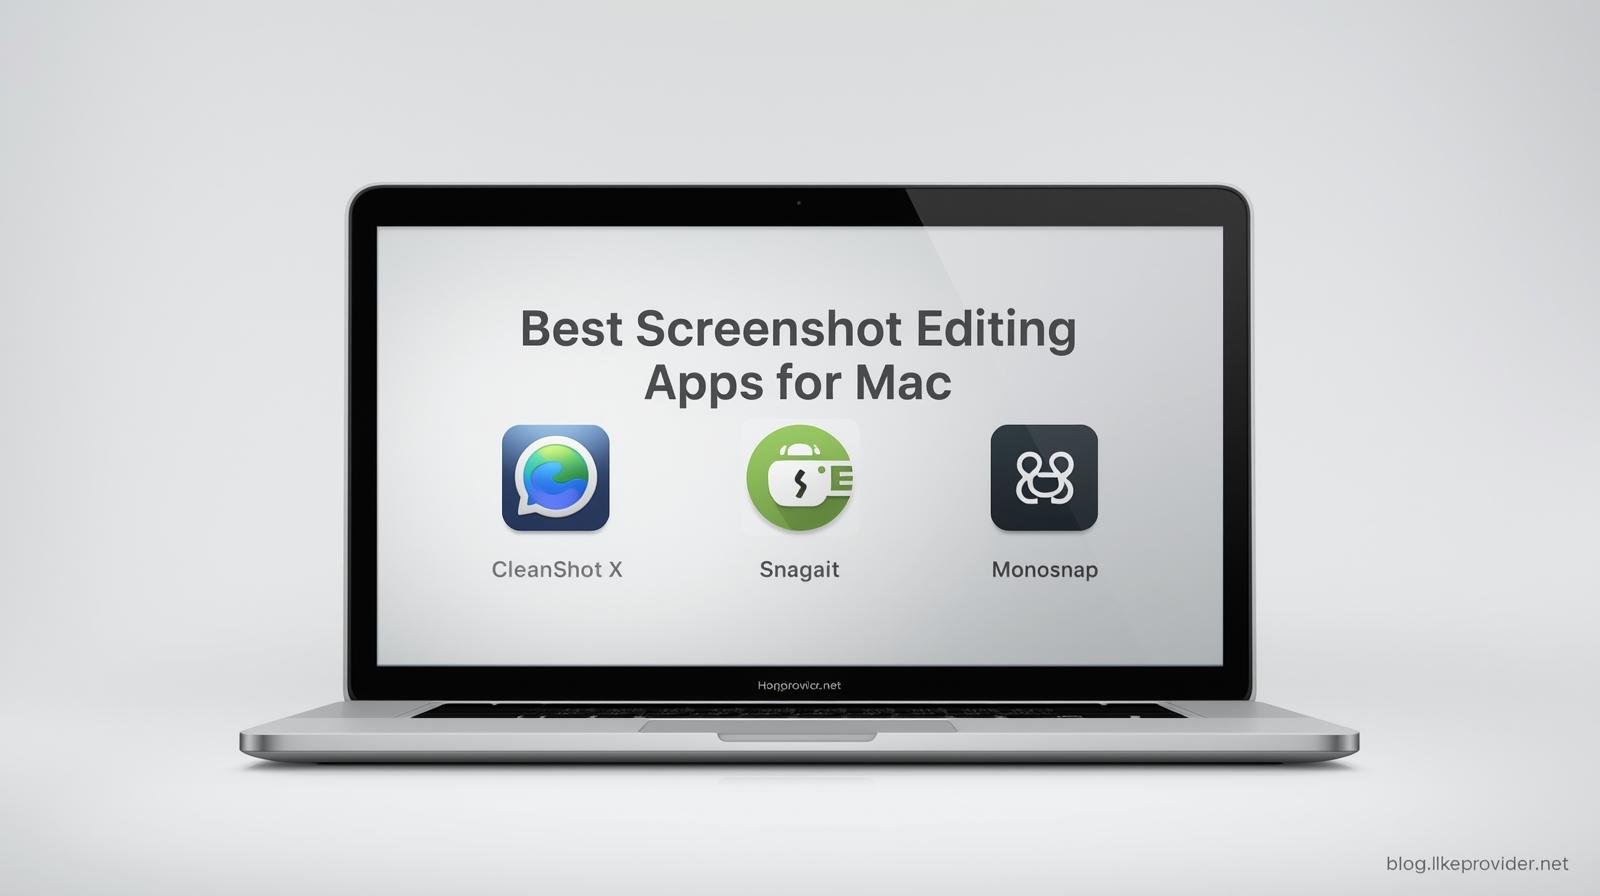
Best Screenshot Editing Apps for Mac
While the built-in tools are powerful, third-party apps can add even more functionality. Here are some popular options:
- CleanShot X – advanced annotations and cloud sharing.
- Snagit – professional-grade capturing and video editing.
- Monosnap – quick sharing and integrated cloud storage.
Using one of these tools makes how to take a screenshot on computer mac even more versatile for professional users.
Final Thoughts
Learning how to take a screenshot on mac is an essential skill for everyday productivity. From simple shortcuts to advanced toolbar features, Apple gives users every tool needed to capture, edit, and share their screens instantly.
Whether you’re on a MacBook Air, MacBook Pro, or iMac, mastering these steps will make your work faster and your visuals clearer. With this 2025 guide, you can now capture anything on your screen in seconds.
Verify official macOS screenshot shortcuts and methods via the Apple Support page.