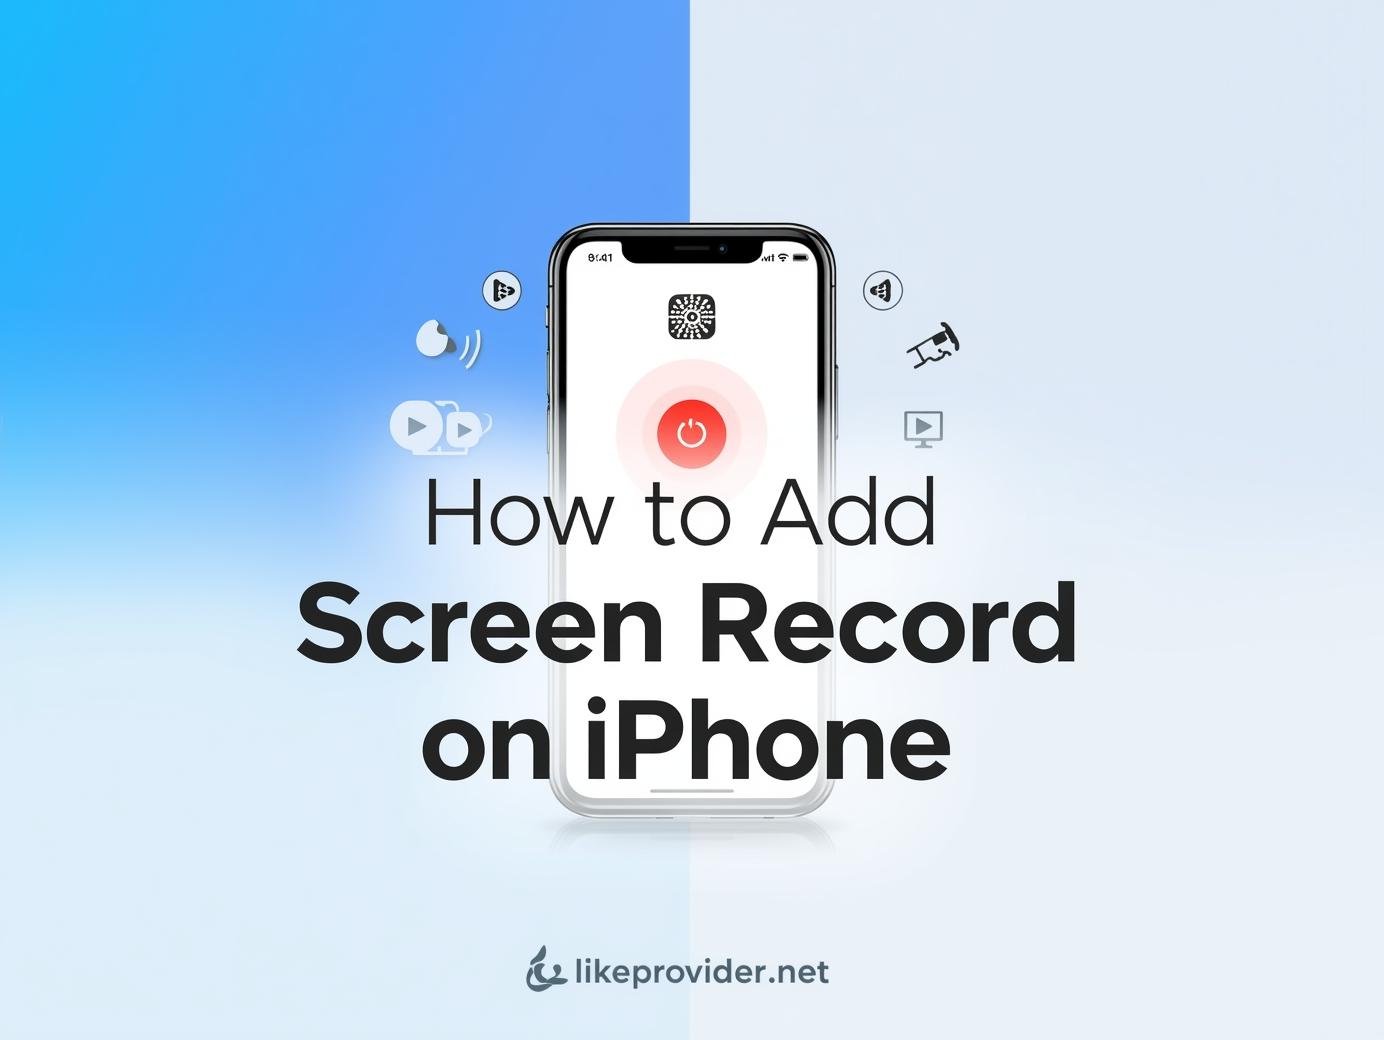
In today’s digital world, screen recording has become an invaluable tool for sharing tutorials, capturing gameplay, or even documenting important information. If you’re wondering how to add screen record on iPhone, you’re not alone. This feature allows you to effortlessly capture what’s happening on your device. Therefore, if you own an iPhone, it’s beneficial to familiarize yourself with this handy function. In this step-by-step guide, we’ll walk you through the how to add screen record on iPhone settings, ensuring you can start recording in no time. Whether you have the latest model or an older version, this process is straightforward and user-friendly.
Understanding the Screen Recording Features on iPhone
Screen recording on your iPhone can unlock a world of possibilities, whether for sharing tutorials or capturing gameplay. To get started, it’s essential to know how to add screen record on iphone through the settings. Typically, users can easily toggle this feature on. Once activated, simply swipe down from the upper right corner on your iPhone 13 to access the Control Center. You might wonder how to add screen record on iphone settings or if there are hidden options:
- Start/Stop Recording: Tap the recording icon to begin or end your session.
- Microphone Options: Enable audio recording for commentary during captures.
- Recording Quality: Check settings for adjusting resolution and frame rate.
Understanding these features can significantly enhance your experience as you explore how to add screen record on iphone 13. Remember, practice makes perfect!
Step-by-Step Guide to Enable Screen Recording in Settings
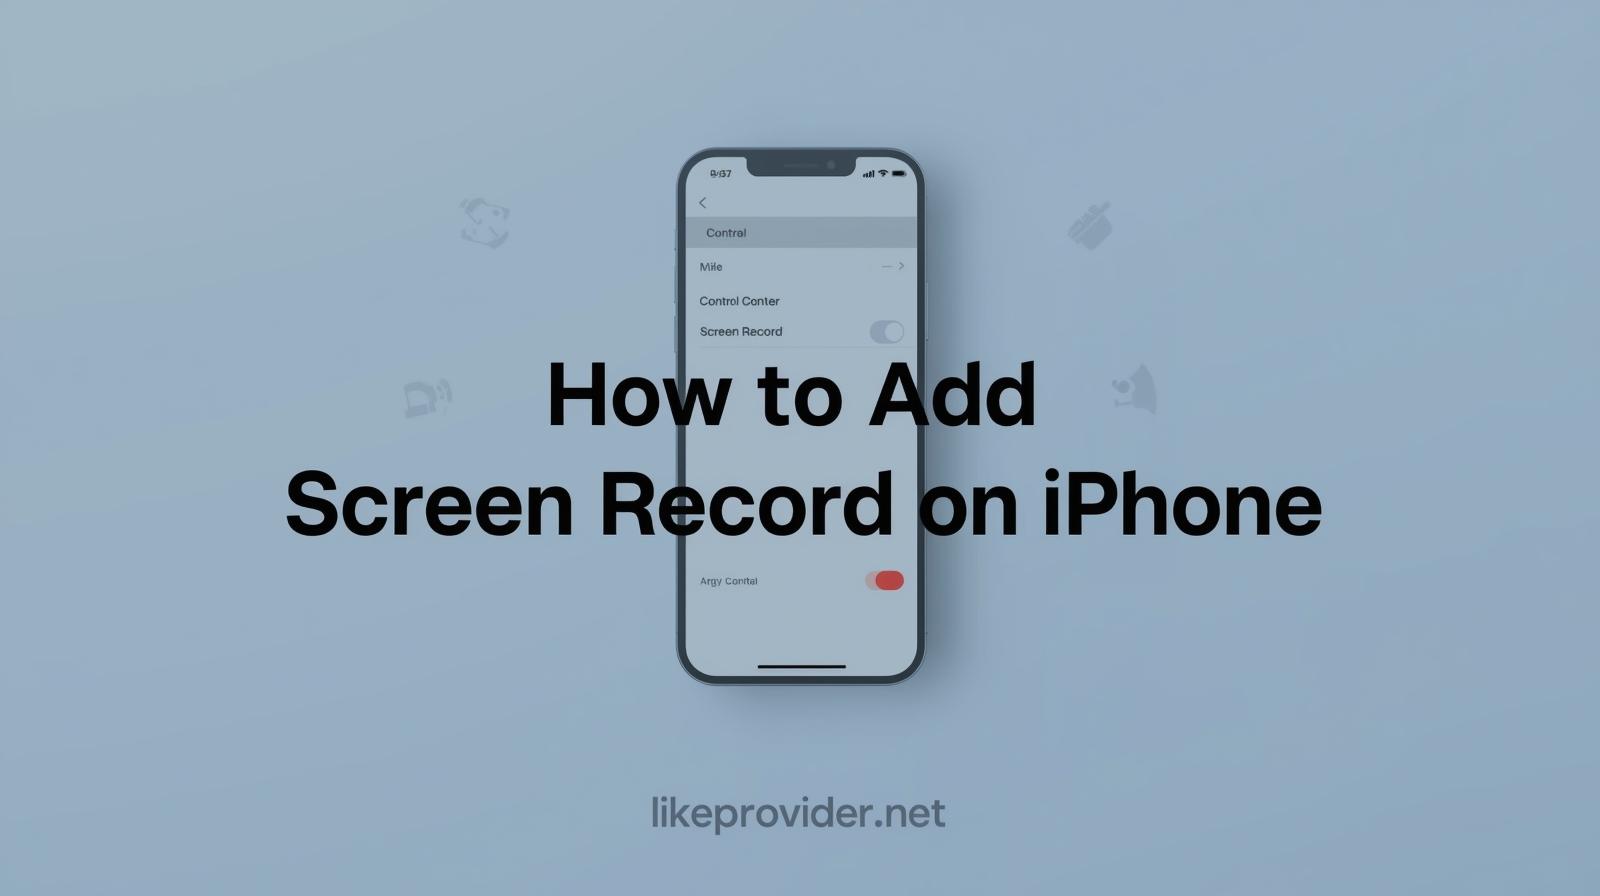
To learn how to add screen record on iphone 12, start by opening the Settings app. Scroll down and tap on Control Center, then select Customize Controls. Under More Controls, locate Screen Recording, and tap the green “+” icon. This adds the feature to your Control Center, allowing you to access it easily. If you’re curious how to add screen record on iphone without app, this method works seamlessly without any extra software. For a detailed how to add screen record on iphone tutorial, simply swipe down from the top-right corner and hit the record button.
How to Add Screen Record on iPhone — Step-by-Step
Adding the Screen Record feature on your iPhone is quick and simple. Follow these steps to activate and use it effectively:
- Open Settings: Go to your iPhone’s Settings app.
- Access Control Center: Scroll down and tap Control Center to manage available tools.
- Customize Controls: Tap Customize Controls or Included Controls depending on your iOS version.
- Add Screen Recording: Find Screen Recording under “More Controls” and tap the green plus (+) icon next to it. This adds it to your Control Center.
- Start Recording: Swipe down from the top-right corner (or up from the bottom on older models), then tap the record button to begin.
- Stop Recording: Tap the red status bar or the record button again to end your recording. The video saves automatically in your Photos app.
Now your iPhone is ready to capture videos of your screen anytime you need.
For reliable social media growth services, check out our trusted smm panel for instant engagement and faster results.
How to Start and Stop Screen Recording on Your iPhone
To begin screen recording on your iPhone, first ensure you’ve added it to your Control Center. You can do this by navigating to Settings, then Control Center, and finally incorporating the Screen Recording option. Once it’s included, simply swipe down from the top-right corner of the screen to access the Control Center. For how to add screen record on iphone easily, tap the Screen Record icon. To stop, tap the red icon at the top of your screen or return to the Control Center.
Some Tips
Keep in mind that recording will capture audio if you long-press the icon before starting. This feature can be helpful for various uses, yet it’s wise to ensure any sensitive information is not visible during recording.
Tips for Editing and Sharing Your Recorded Screen Video
Editing your recorded screen video can enhance its impact. Start by trimming any unwanted segments; this keeps the content engaging. You might want to consider adding annotations or captions for clarity, which can help convey your message. When sharing, select the right platform based on your audience—whether it’s social media or a professional setting. Additionally, keeping the file size manageable is crucial, as large files may not upload as easily, especially on mobile devices.
Troubleshooting Common Issues with iPhone Screen Recording
When using the iPhone screen recording feature, users might encounter a few common issues. For instance, if your recording doesn’t save, check if sufficient storage is available, as this can often be the culprit. Additionally, ensure that you’ve enabled the feature in your settings; it’s surprisingly easy to overlook. If the screen appears black, consider that it may be related to specific apps or restrictions set on your device. Therefore, a quick review of your settings can often resolve these glitches.
Conclusion
In conclusion, mastering how to add screen record on iPhone opens up a world of possibilities for effortlessly capturing your screen activities. This feature is particularly handy for creating tutorials, sharing gameplay, or documenting important information. By following the simple steps outlined in this guide, you can easily enable and start recording your screen whenever needed. As you explore this tool, don’t hesitate to experiment with the settings to find what works best for you. Enjoy the convenience and creativity that comes with screen recording, and make the most out of your iPhone experience!
You can also visit the official Apple Support Center to learn more about using and customizing the Screen Recording feature on iPhone.